"I'd love to organize my _____, but I just don't know where to start!"
At The Container Store, we've heard this statement more times than we can count, and it stems from a universal fear of being overwhelmed.
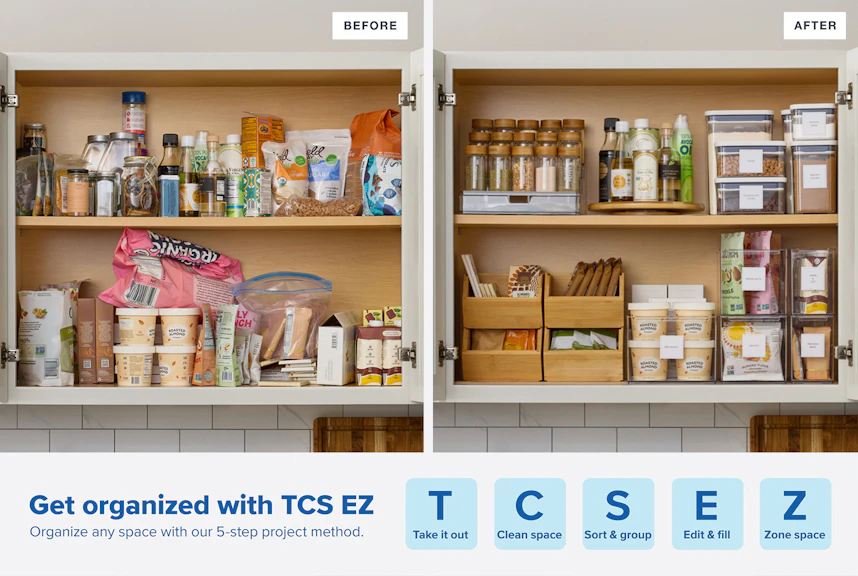
But as we see it, whether you're organizing a space that's fairly common (like a pantry) or less common (like a wizard's spell cabinet), the overall process is the same. We've condensed it into a 5-step project method summarized in an easy-to-remember acronym: T-C-S-E-Z
- (T) Take it out: Start by completely removing the contents of the area you'd like to organize. Clear any shelf, drawer, and/or floor space and set those items aside.
- (C) Clean space: Next, clean the space using the appropriate cleaning supplies. Some areas may only need to be dusted or wiped down with a damp cloth; others should be scrubbed thoroughly, depending on the circumstances. Add liners to shelves and drawers to keep them protected and make them easier to clean in the future.
- (S) Sort & group: Divide the items up into basic categories and place them together. If it's a garage, those categories might include tools, sports equipment, and seasonal decor. For a closet, the categories might be hanging clothes, folded clothes, shoes, accessories, etc.
- (E) Edit & fill: Then, go through the contents of the space and set aside the items you no longer need. (If it's your fridge, throw away any expired food. If it's a kids' playroom, put any unwanted toys into the donation pile.) Once you've purged the space of items you no longer need, you may being putting everything back.
- (Z) Zone space: As you replace the items in your space, create distinct "zones" based on the categories and need for accessibility. Use the appropriate bins and organizers to keep these items tidy.
