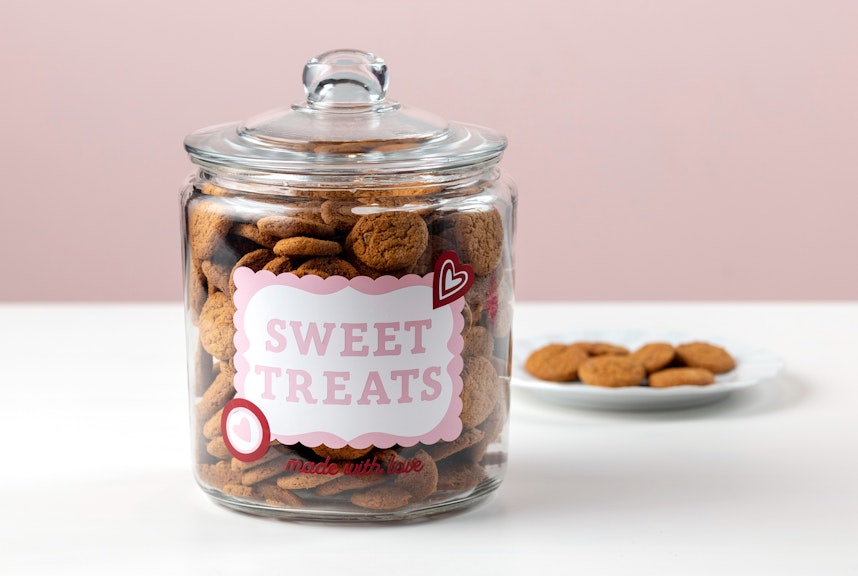
Labels are one of the best ways to help you stay organized. Not only do labels allow you to sort things with ease, but they also just look terrific! Seeing a newly organized space complete with plenty of clean, neatly-labeled bins and drawers is incredibly rewarding and a sign of a job well-done. Plus, the labels also serve as a gentle reminder to tidy up when things start to get a little out of hand.
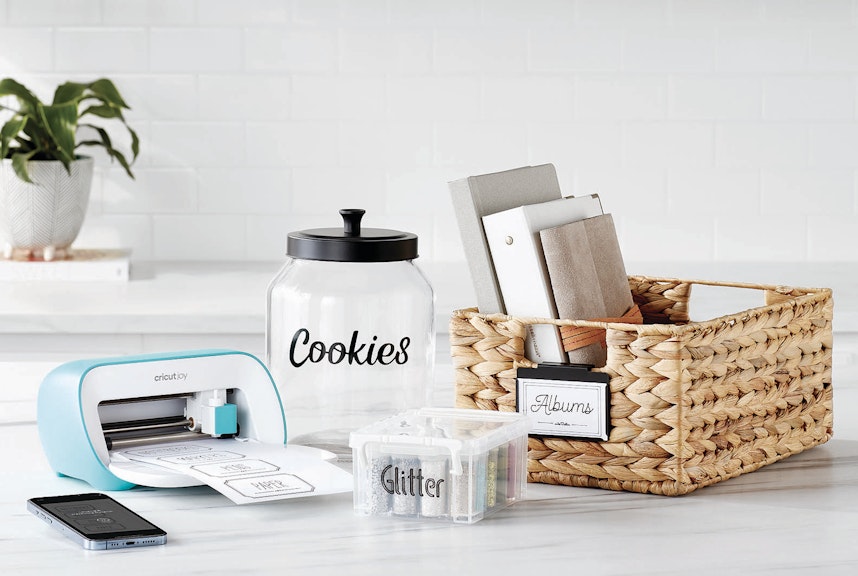
Not long ago we introduced the Cricut Joy Starter Kit, an easy way to create chic custom adhesive labels in an appealingly compact package. But for softer items (fabric bins, bags, clothing, etc.) that you might want to customize, we have a special solution: the Cricut EasyPress Mini Starter Kit!
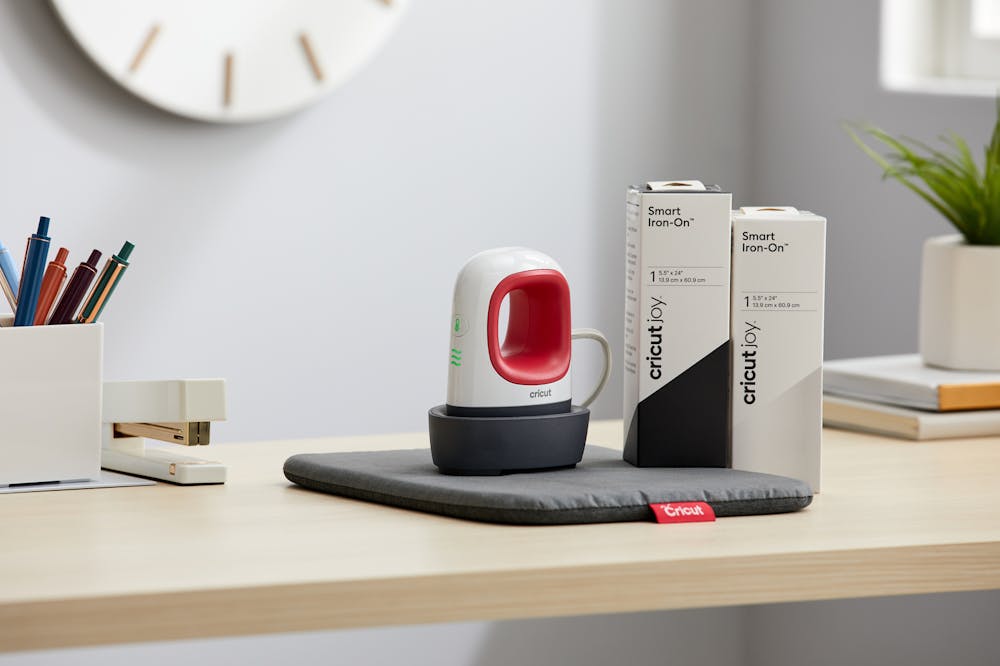
Perfect for DIY crafting and designed to work with labels made with your Cricut Joy, this set will allow you to create unique treasures in no time. The Cricut EasyPress Mini is a heat-activated tool that creates flawless iron-on transfer results even on tiny items. The EasyPress Mini is equipped with a ceramic-coated plate for edge-to-edge heat, and it nimbly works around curves, between buttons, and in seams. The starter kit includes the EasyPress heat transfer tool, two rolls of Cricut Joy Smart Iron-On material (one black and one white), and a handy non-slip ironing mat that will withstand temperatures up to 400º Fahrenheit.
![]()
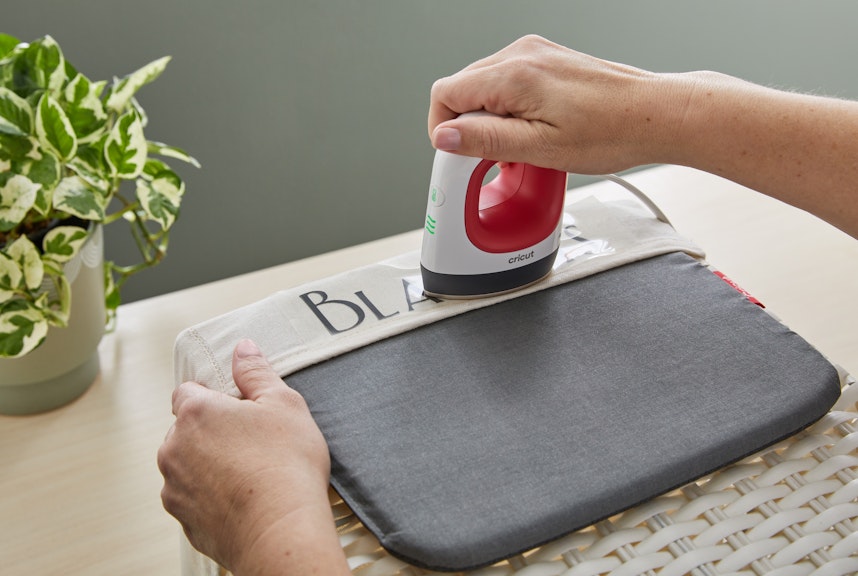
Position the EasyPress mat under work surface and continuously move the Cricut Easy Press Mini over your design.
In case you were wondering, the Cricut EasyPress Mini is so easy to use that Cricut literally put "easy" in the name. After you've created your label or design using the Cricut Joy--instructions can be found here--you can iron them onto your chosen item in a few easy steps:
1. Power the Cricut EasyPress Mini ON.
- For flat base materials, find a firm, flat, heat-resistant surface around waist-high and use an Easypress Mat to protect the surface. (Be sure to avoid any ironing boards that seem flimsy or unsteady.)
- For shapely objects that are hollow--like shoes and hats--use a form or folded towel inside to create a firm pressing surface.
2. Set temperature.
- Use the Cricut Heat Guide to determine the proper heat setting for your project.
- Powering the machine ON sets the temperature to Low. Press the button again for Medium setting, and once more for the High. The Orange light means it's heating up, and the Green light means the proper temperature has been reached.
- Use extreme caution. The machine operates at high temperatures that can cause burns if used incorrectly.
3. Set a separate timer to the recommended time.
4. Preheat the base material. Move the Cricut EasyPress Mini over the application area for the recommended time.
5. Position the design onto the material. Make sure the shiny side (clear liner) is facing up.
6. Apply heat to both sides of the material.
- Start the timer and move the Cricut EasyPress Mini continuously across the design until the timer goes off. Cover all areas of the design--including the center and edges--and allow the heat plate to extend approximately 0.5" (13 mm) beyond all edges of the design.
- Flip over the base material, and the heat back side of the design for the recommended amount of time.
7. Before removing the liner, refer to the Cricut Heat Guide to determine the peel temperature.

After heating both sides, carefully remove the liner.
![]()
We can't wait to see all of your custom Cricut creations! Show us how they turn out on our My Organized Life page.
And be sure to browse the rest of our fantastic Cricut products here.